A Guide to a Functional Pencil Grasp
5 min read
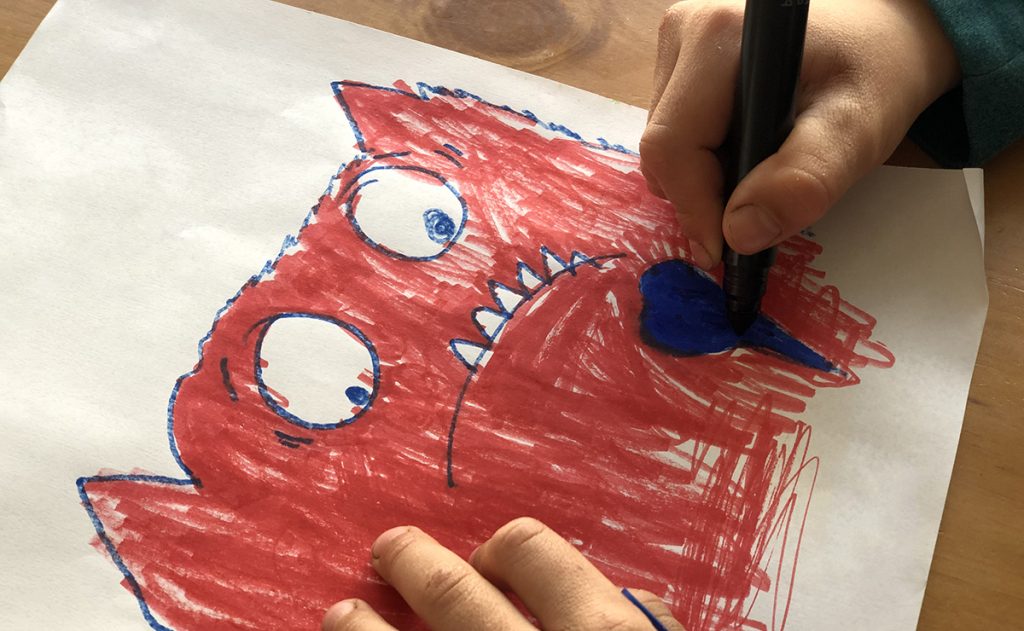
Teaching your child how to have a functional pencil grasp.
Having a functional pencil grasp supports your child’s writing. A functional pencil grasp allows the pencil to be moved with ease which supports neater letter formation and improves your child’s writing speed.
What is a functional pencil grasp?
A functional grasp doesn’t need to be a perfect ‘tripod grasp’. It may look different. However, it should let your child write:
- Efficiently: Making sure that their speed is not affected
- Legibly: Able to form neat & legible letters
- Without pain: Awkward joint positions may cause pain when writing influencing both efficiency and legibility
What is an inefficient pencil grasp?
An inefficient grasp is a grasp that limits the movement of the pencil making it challenging to write neat letters, keep up with peers and may cause pain to the finger joints.
1. Pencil Moved by Proximal Movements (shoulders or forearm)
Moving your pencil with shoulders or forearms creates big strokes. This will affect writing legibility. Movements made by fingers instead will provide better control of the pencil thus allowing neater letter formation.
Cause: Weak core & shoulders
Solution: Core & shoulder strengthening activities.
Core strengthening activities:
See “Top 10 Core Strengthening Activities for your child” blog post.
Shoulder strengthening activities:
- Climbing (trees, playground structures, rocks)
- Crawling (obstacle course, animal walks)
- Monkey Bars
- Playing tug of war
- Heavy work involving carrying, pushing, pulling & lifting (e.g. carrying heavy buckets filled with sand/water, lifting up logs or rocks, pushing a load in a cardboard box)
2. Hooked wrist when drawing or writing
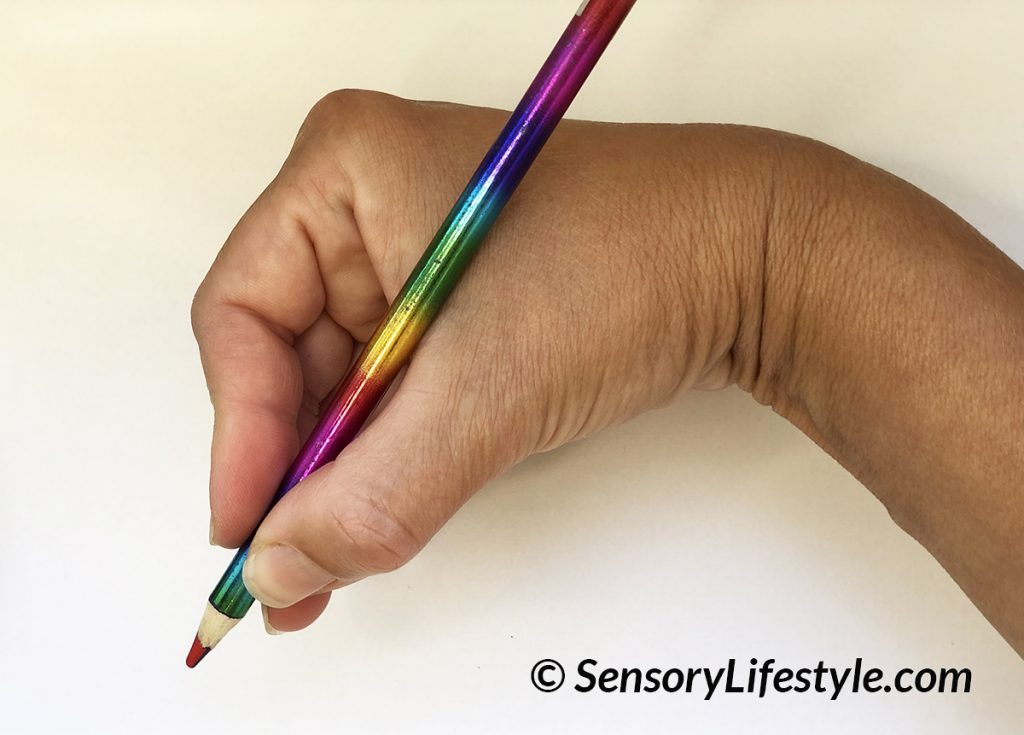
A hooked wrist limits the movement of the pencil which reduces neatness and accuracy when writing. Wrist should be slightly extended (bend up) when writing to support the movement of the fingers.
Cause: Weak wrist
Solution: Wrist strengthening activities
- Crawling games
- Twister
- Vertical activities:
- Drawing/Painting on a paper stuck onto a wall or easel
- Craft with play dough stuck on the wall/window
- Washi Tape Fun
- Use the tape to create various shapes, zig zags or letters on the wall
- Then, using a pencil draw on top of the washi tape that is stuck on a wall (might want to use an external wall or a fence to avoid pencil marks on the wall inside the house)
- Lastly, you can also use it as a vertical race track for cars
3. Pain when writing
Basically, if you are in pain when writing, then you just don’t write as much. Your writing neatness is also affected as you put less effort in. Pain will also impact how much your child enjoys or should I say doesn’t enjoy writing in this instance. This will definitely have an impact on their learning.
Cause: There are multiple reasons that can be causing pain when writing
- Joints that are hyper extended or bent back beyond normal range of motion
- Child uses extreme pressure when holding a pencil (You may notice a change in the skin tone due to the pressure)
- Child uses excessive pencil pressure which leads to very dark pencil writing
Solution: Strengthen Fingers
Strengthening fingers happens through the activation of the Proprioceptive Sense. The receptors for this sense are located in all the joints, muscles and tendons.
Proprioceptive sense is also responsible in identifying how much force/pressure should be used when writing. Having a strong proprioceptive sense will allow for an appropriate use of pressure when writing. This will eliminate both the excessive pressure but also the light pressure used when writing.
Strengthening the fingers through the proprioceptive sense includes activities that provide resistance to the hand joints. For example:
- Opening and closing containers/bottles
- Legos
- Craft using a hole puncher
- Activities using play dough or clay
- Pop beads
- Using clothes pegs to hang up art
- Playing with spray bottles
- Playing finger tug of war with a small piece of paper
- Wringing out sponges
4. Lack of movement in the fingers
Your fingers are the ones responsible for moving the pencil. The easier it is to move it, the neater your writing will be and you will be able to maintain an appropriate writing speed.
Cause: Weak hand manipulation skills or any of the above mentioned reasons
Solution: Fine motor activities
- Games: operation, battleship
- Crafts
- Decorating with stamps & stickers (make sure the child pulls the stickers off them selves)
- Squeeze toys
- Games with tweezers
- Wind up toys
- Play dough
- Art with crumbled tissue paper
- Making twisted shapes/ people with pipe cleaners or wiki stix
- Using nuts & bolts
- Piercing designs on cardboard with push pins
- Using eye dropper for water art
Also check out my video on how you can improve fine motor skills using simple objects found around the house: “Fine Motor Activities Using Objects From Your House”.
Teaching the Tripod Grasp
Q. My child uses an inefficient pencil grasp. Is it too late for them to change it?
If your child is in 2nd grade or below it is easier to change their pencil grip than older kids. Kids who are in 3rd grade or older have a pretty established grasp patterns that are much harder to change.
Below 2nd grade: Teach, Show & Remind your child about the correct pencil grasp.
3rd grade & older: If your child is motivated it will take a lot of conscious effort to change their grasp.
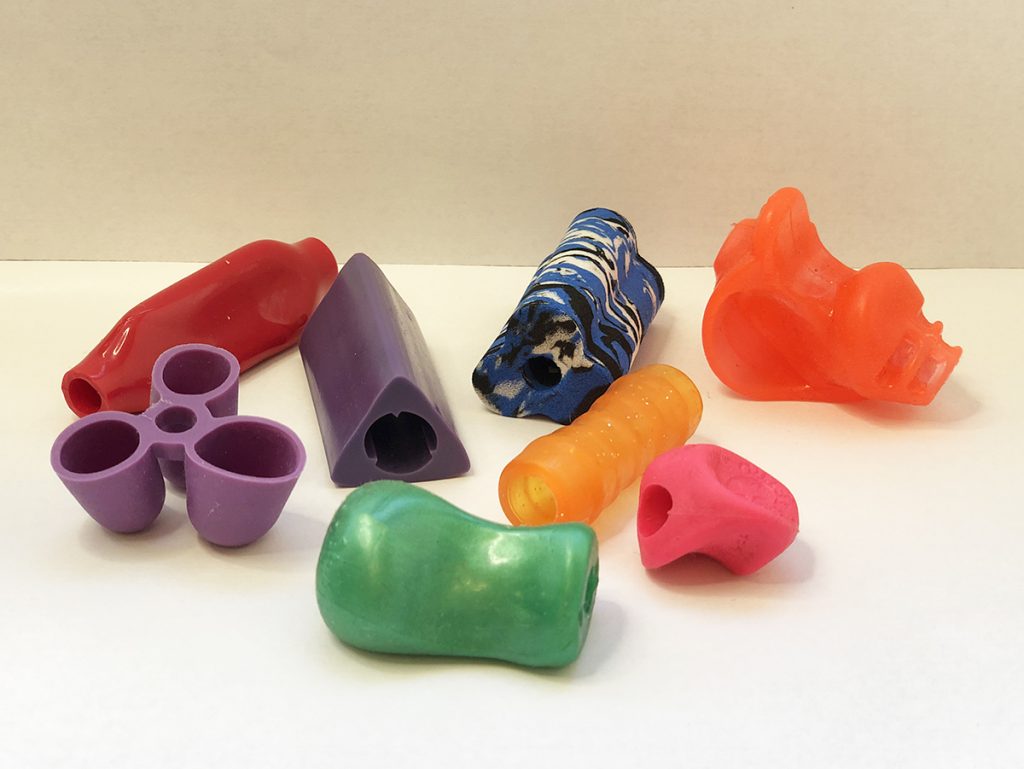
An older child could also use a commercially available pencil grasp. Best to try a few to see what will work. It might be useful to connect with your child’s school’s occupational therapist to see if they can provide you options specific for your child’s needs.
Q. How do I teach my child to hold their pencil correctly?
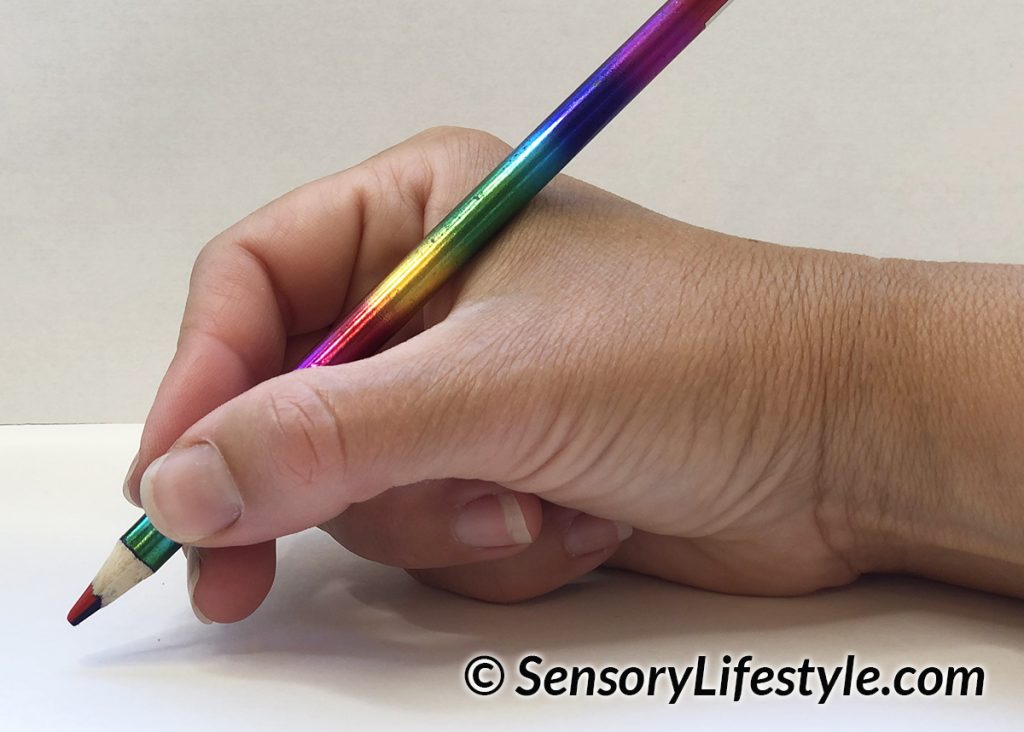
From my early occupational therapy days I always liked to use the “Peter or Penny” the pilot strategy. This strategy describes how to teach the tripod grasp. This grasp is one of the most common functional grasps.
Make sure you demonstrate each step to your child.
Step 1. Ask your child to pinch the pencil.
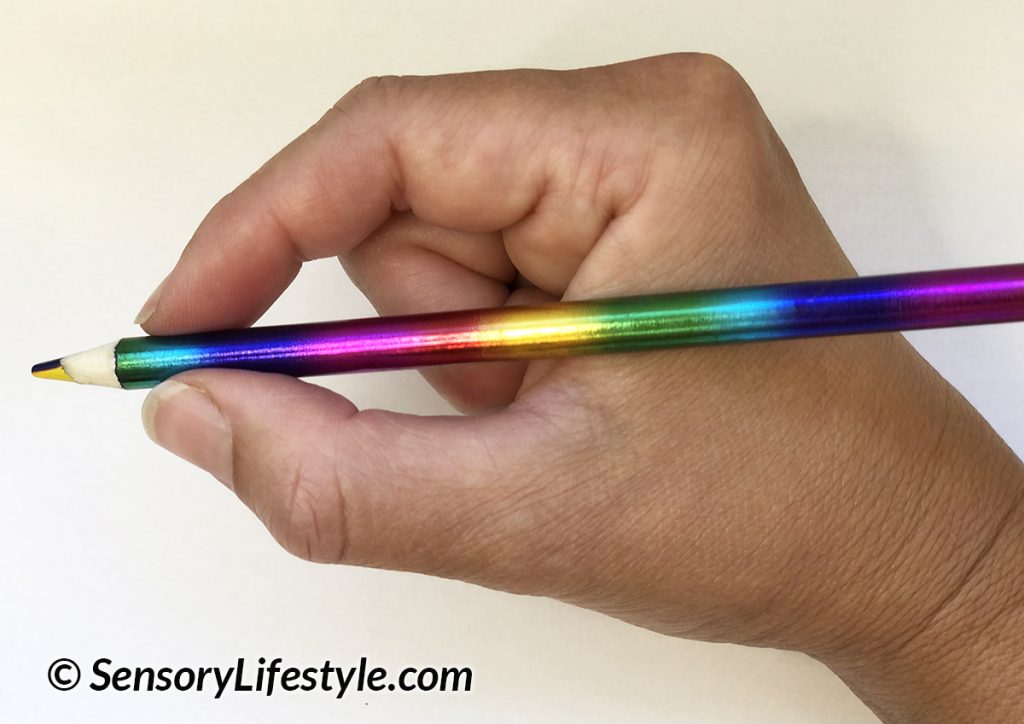
Say: “Let’s pretend that this pencil is a plane. This is Peter/Penny the pilot (pointing to the pointer finger) and this is their co-pilot (pointing to the thumb). They are responsible for flying the plane. Remember that they always sit next to each other. We don’t want them sitting on top of each other (demonstrating thumb sitting on top of the pointer finger). The plane will not be able to go anywhere if they are sitting like that as the pilot can’t see where he is going”
Step 2: Middle finger supports the pencil from the bottom
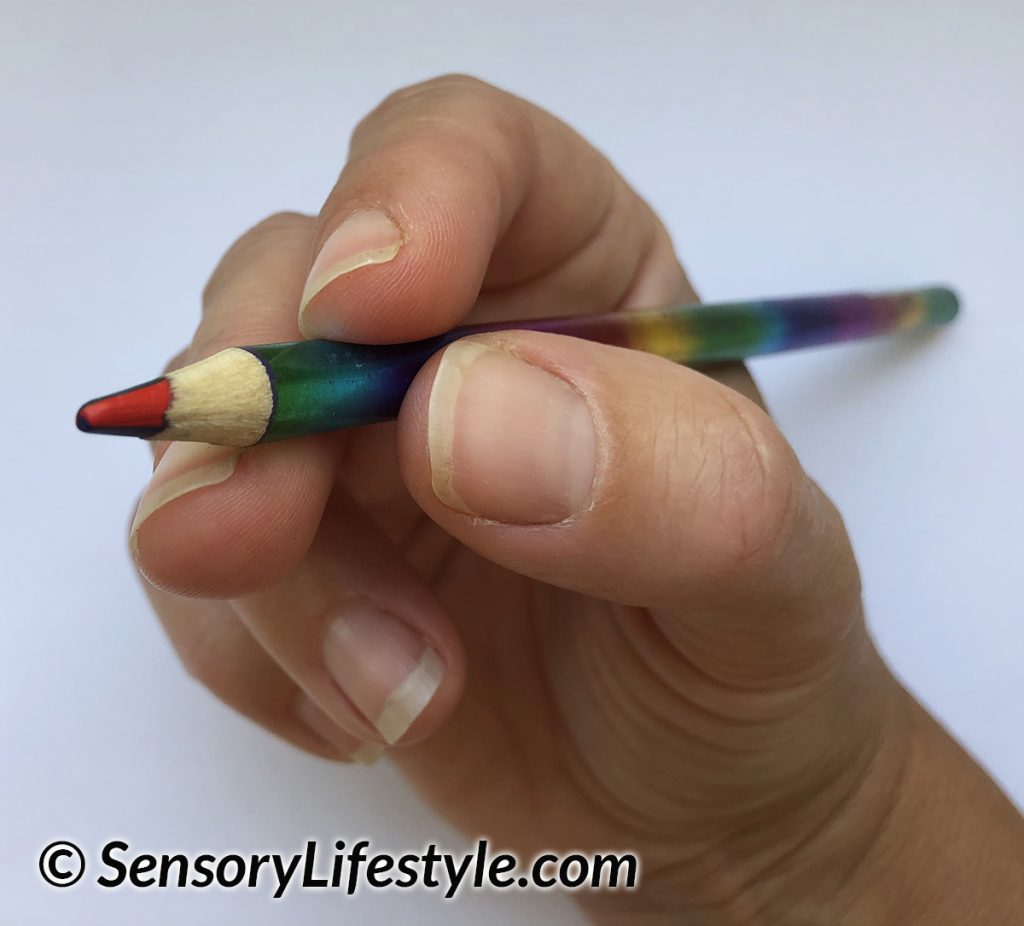
Say: ” Our middle finger is the flight attendant. They will sit right over here under the pencil (demonstrate placing the middle finger under the pencil).”
Step 3: Bring the other 2 fingers into the palm.
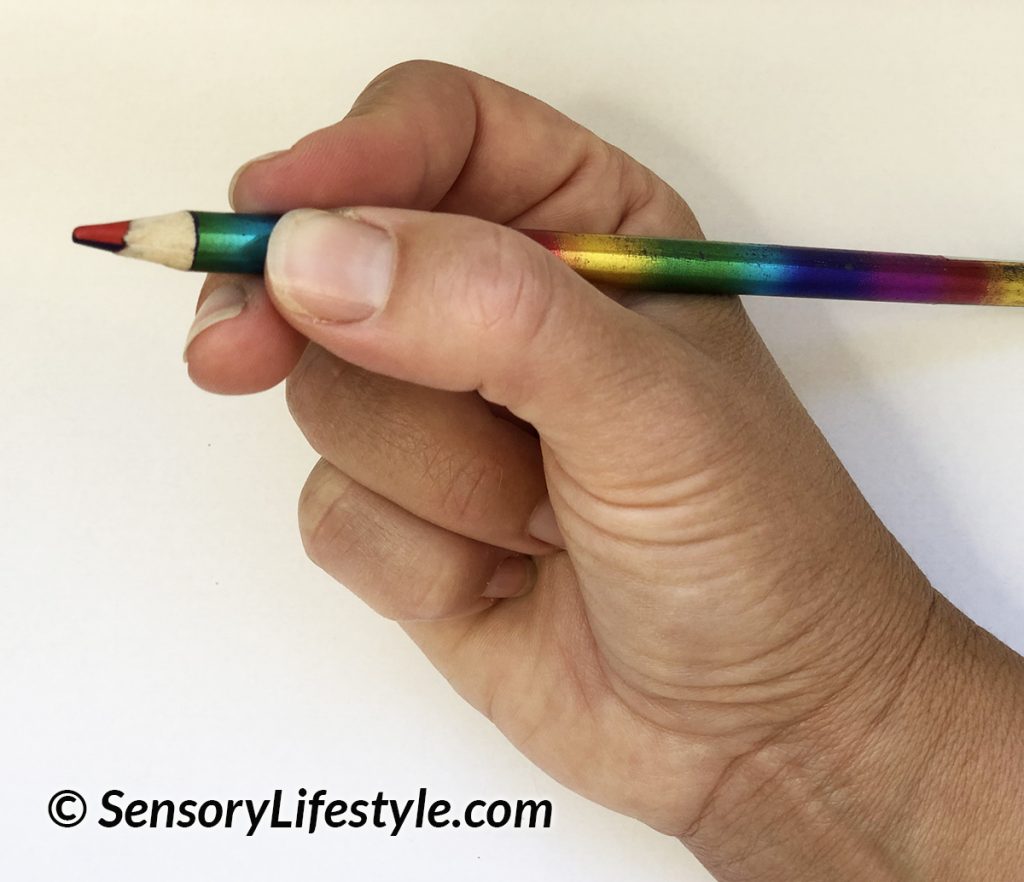
Say: ” The rest of the fingers are all the passengers and they need to sit down in their seat. So let’s tuck them into your palm (demonstrate placing the remaining 2 fingers into the palm).
Step 4: What happens when passengers can’t find their seat?
If your child is having a hard time keeping the 2 fingers tucked in you can place a pom pom or a crumbled piece of paper inside their palm. This will serve as a great reminder to keep those fingers tucked in.
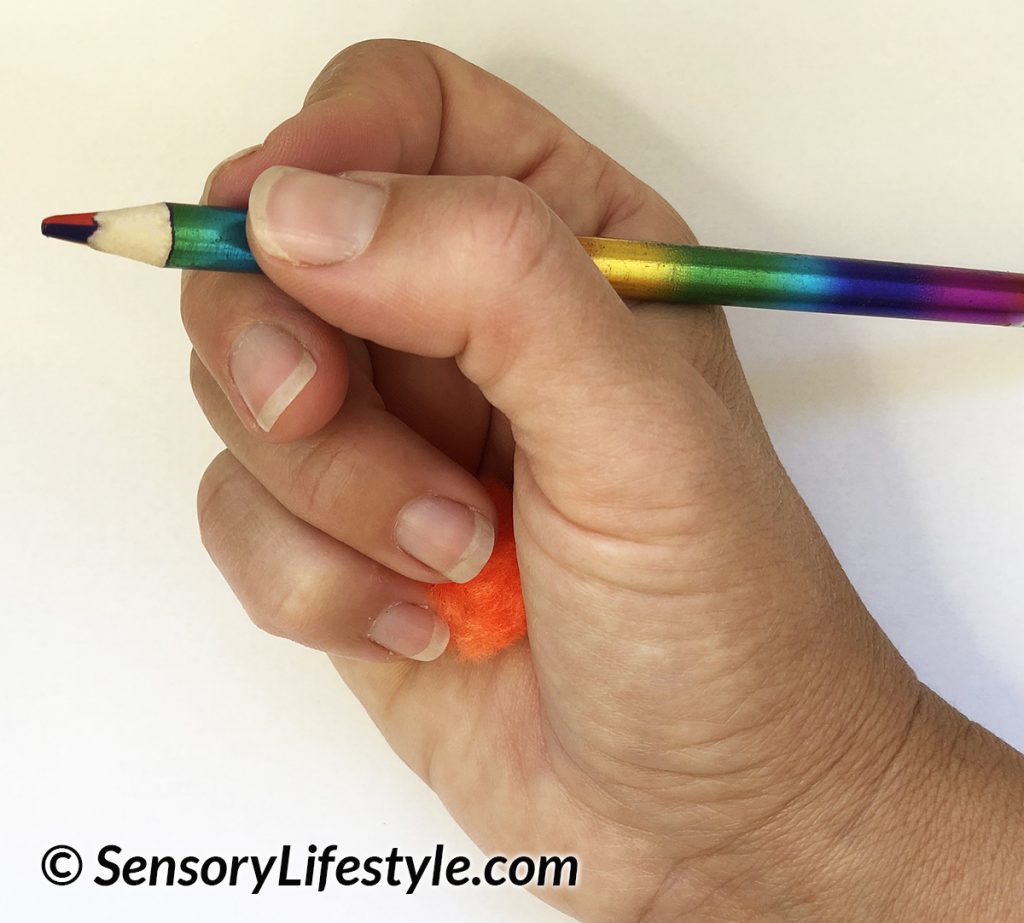
Say: “Here is some luggage for your passengers (giving your child the pom pom). Make sure they hold on tight as I’m sure they don’t want to loose it”.
For this grasp to become automatic it will require frequent demonstrations, reminders and practice.
Be patient and they will get there.
Occupational Therapy Tip:
Encourage use of Broken Crayons while drawing or coloring.
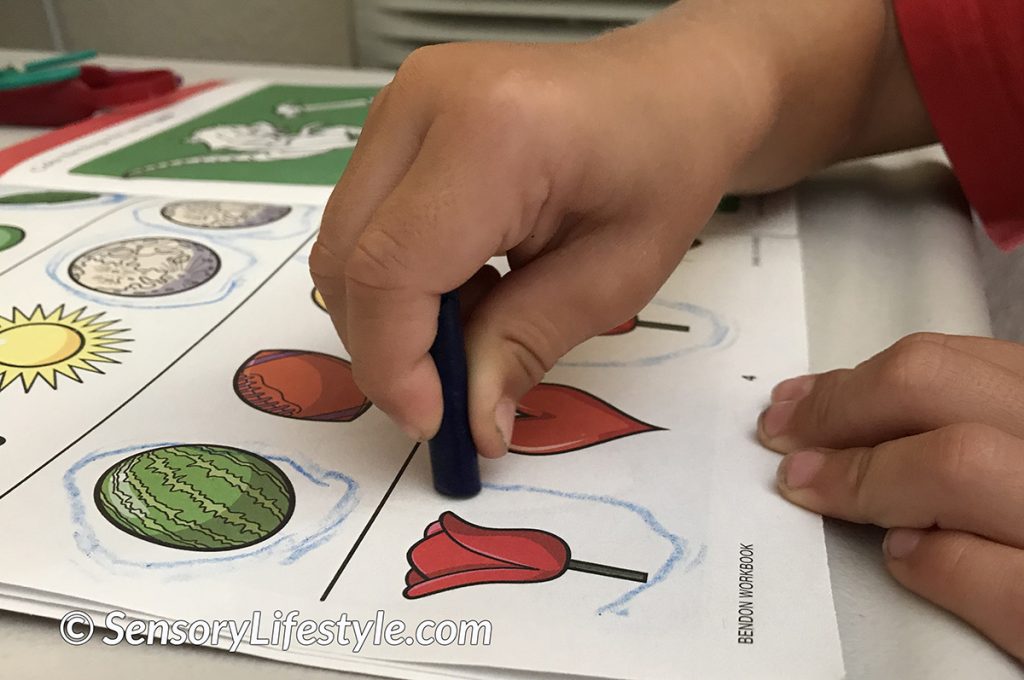
Broken crayons are small therefore they limit the way your child can grasp & manipulate them.
This is a good thing. Their little fingers are guided to hold that small crayon piece with their three fingers (thumb, pointer & middle finger).
This finger placement is used when writing with a functional tripod pencil grasp.
Therefore, using broken crayons will encourage your child to use a functional pencil grasp & strengthen necessary fingers in the process.
So break those crayons to encourage the development of a functional pencil grasp which will provide your child better control over their pencil.
Summary
A functional grasp allows your child to have a better control over their pencil. This equals to legible and neat writing.
A child does not automatically become great at holding their pencil. They need to be shown how to do it and have lots of opportunities to practice.
They also need to have mastered underlying skills that will support their pencil grip development. This includes a strong core, shoulders, wrist and hands.
You may also be interested to find out how to support your child’s handwriting development by checking out my post “Teaching Handwriting to your Child”.
Happy Learning,
~ Urszula
Pediatric Occupational Therapist

Teaching Handwriting to your Child

Top 10 Core Strengthening Activities for your child
