Teaching Handwriting to your Child
2 min read
When it comes to teaching handwriting there is a right way and a wrong way to teach your child how to write. In this post I will discuss the developmental progression of handwriting skills and show you how to teach your child the right way to write. Using correct letter formation will ensure your child is able to write neatly and use appropriate speed.
First thing first, before teaching your child how to write letters they need to be able to form their pre writing shapes.
What are pre writing shapes?
Pre writing shapes are strokes and shapes that are needed to be able to accurately form letters and numbers.
Each child follows a predictable patter when they develop their ability to draw these shapes. Below is the description of the pre writing shapes and the order of their development.

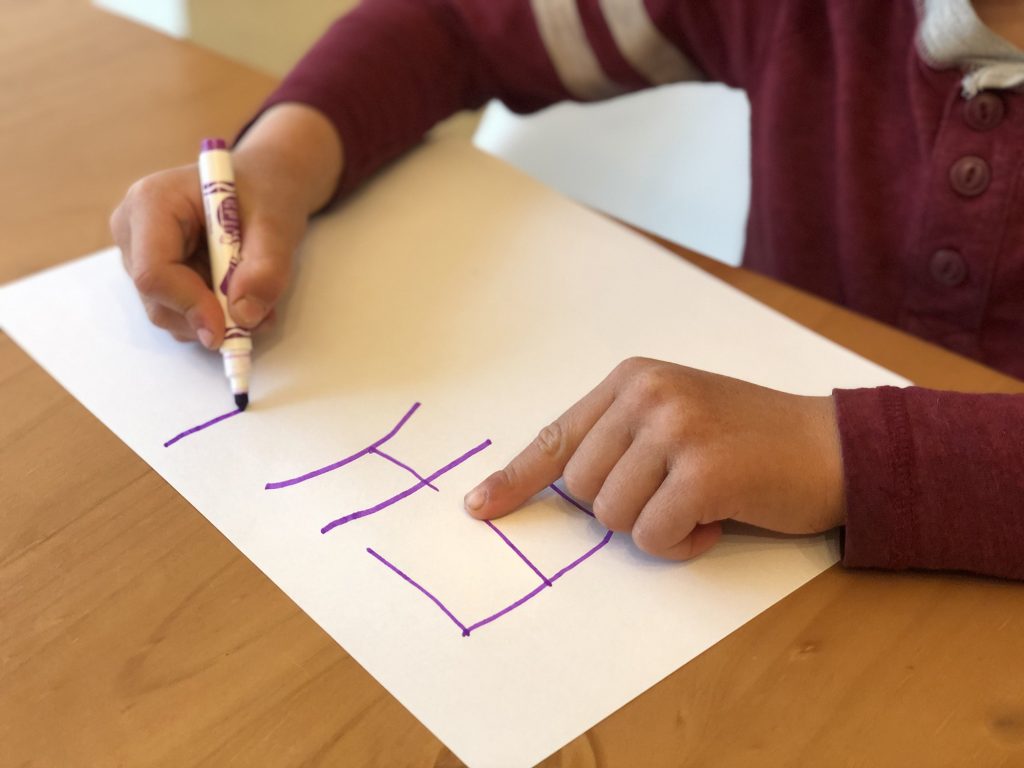
Teaching Handwriting
Once your child masters their pre writing shapes you can start working on writing letters.
Please note that you can start working on letter formation before all the pre writing shapes have been mastered. The thing to remember is that you don’t want to jump past the letters that they are developmentally not ready to write yet. For example don’t work on letters with diagonal lines such as A or Z before your child has actually mastered drawing the diagonal pre writing shapes.
Upper Case Letters
When teaching handwriting you begin with upper case letters. This is because your child can build from the previously learned skills (pre writing shapes). The appropriate age for learning upper case letters is in Pre- K and Kindergarten.
These letters are the easiest to form and should be taught in groups matching the developmental progression of the pre writing shapes.
Group 1. Straight Lines: F, E, H, T, I, L
Group 2. Curved Lines: D, B, P, R, J, U
Group 3. Magic “C” Letters: C, G, O, Q, S
Group 4. Diagonal Lines: A, K, M, N, V, W, X, Y, Z
Letter formation tips:
- Make sure that each letter is written starting from the top.
- When writing ‘Group 3’ letters make sure your child starts those letters by first forming letter C to ensure the correct sequence of the letter.
- Watch the ‘Letter Formation’ video below to familiarize yourself with the correct letter sequencing & stroke placement
Lower Case Letters
Once the upper case letters have been mastered then it is time to teach your child lower case letters.
The appropriate age for learning how to write lower case letters is Kindergarten.
The best sequence for teaching lower case letters is as follows:
Group 1. Straight Lines: l, t, i
Group 2. Upper Case’s Twin: c, o, p, s, u, v, w, x, z
Group 3. Straight & Bump Letters: h, n, m, r, b
Group 4. Magic “C” Letters: a, d, g, q
Group 5. Tricky Start Letters: e, f, j, k, y
When teaching handwriting it is important to teach the correct letter formation. Using the correct formation when writing will support your child’s neatness and writing speed.
Watch the following video to familiarize yourself with the correct starting point for each letter, stroke sequence and stroke location.
Hope you found this post useful and now feel confident when approaching handwriting with your child.
~ Urszula

My Child Loves to Hang Upside Down

Why Your Child Falls Out Of Chairs

A Guide to a Functional Pencil Grasp

Teaching Handwriting to your Child

Protected: Get your child ready for school

Top 10 Core Strengthening Activities for your child

Why kids need weighted toys?

Activities for Kids at home: NO equipment needed

Roll A Dice Indoor Movement Game
